The first step of setting dynamic pricing in TravelLine Extranet is creating basic rates and price levels.
Next, create a dynamic rate.
How to create a dynamic rate
1. Go to the “Room management” section > “Rates”. Click on the “Create a basic rate plan” button.
2. Write in a rate name, and click on “Dynamic bar rate”.
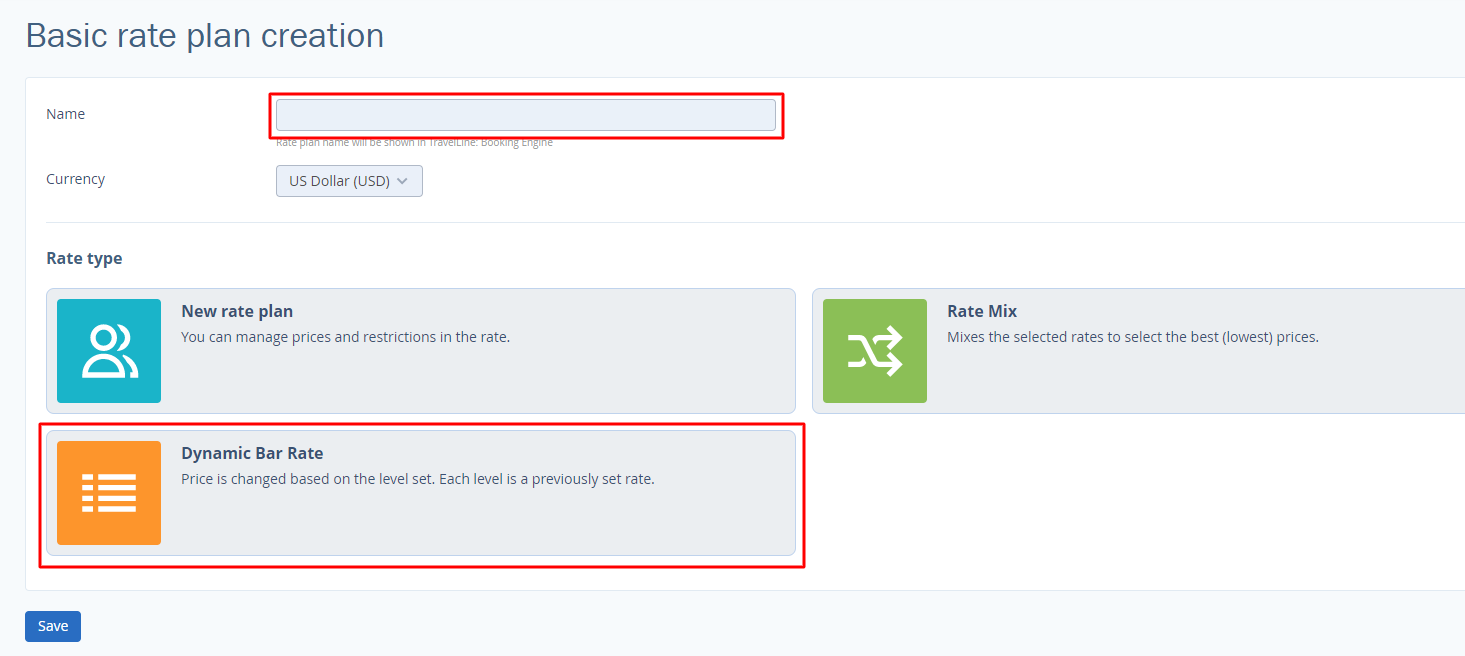
3. Choose whether to include a meal option.

4. Click on the “Save” button at the top or the bottom of the page.
The “General settings” tab
Go to the “General settings” tab.
1. In the “Room categories” section, select which room categories the rate applies to.
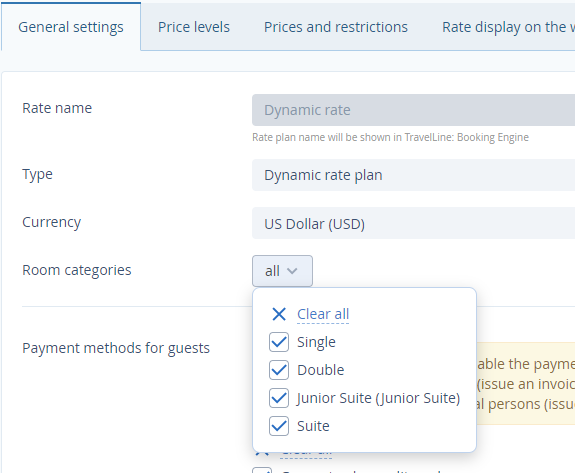
2. Below, in the “Payment methods for guests” section, choose methods that will be available for booking at this rate.
3. Tick the sales sources. Besides the “official site” box, tick “Tape chart” and “Channel Manager” boxes if you want to offer the rate there.
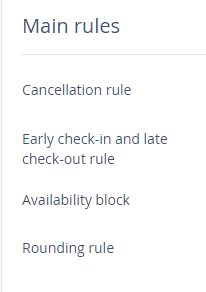
4. In the “Main rules” sections, select cancellation terms and early check-in / late check-out conditions.
5. Click on the “Save” button at the top or the bottom of the page.
The “Price levels” tab
Open the “Price levels” tab. Select a rate for each level.
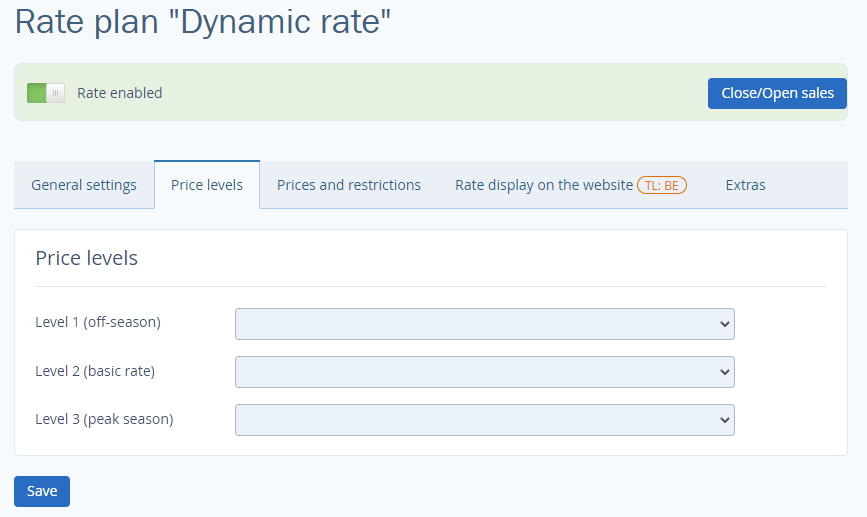
Click on the first drop-down list to choose a corresponding rate. Repeat for the rest of the price levels.
The “Prices and restrictions” tab
In the “Prices and restrictions” tab, there are prices based on the set price levels for every day. You cannot set prices for dynamic rates manually. Instead, set them in the calendar.
If necessary, apply price restrictions to the dynamic rate. For example, this can be MinLos (Minimal Length of Stay), MinAdvBooking (Minimal advanced booking), Closed (Stop sale), etc.
“Rate display on the website” tab
Make settings in the “Rate display on the website” tab to draw the attention of the website’s visitors to the rate in TravelLine Booking Engine.
“Extras” tab
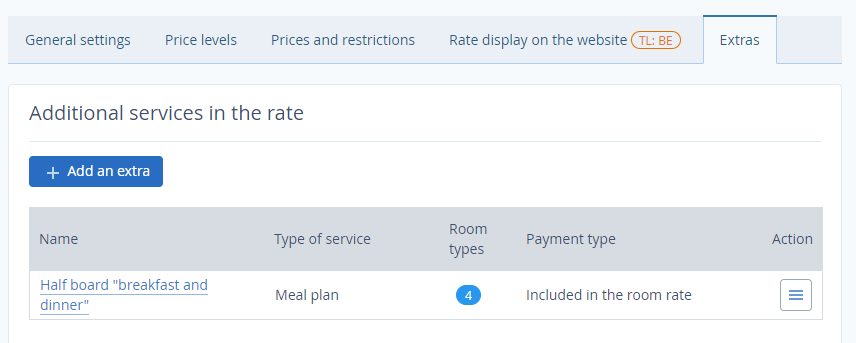
In the “Extras” tab, add additional services to the rate.
