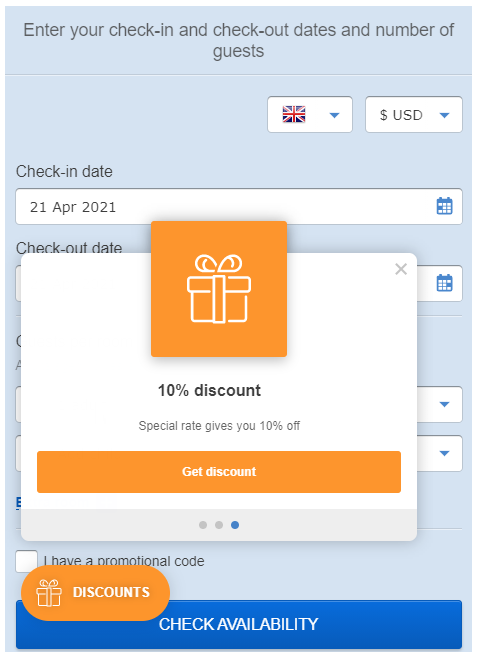
A widget is a piece of software that displays important information or features that visitors benefit from. There are widgets in socials and browsers, that can be displayed both on smartphones and desktops. For example, calendar, clock and weather in your smartphone are all widgets.
Widgets can also be added to the hotel booking engine. They increase sales on the hotel website by attracting guests, giving discounts and special offers.
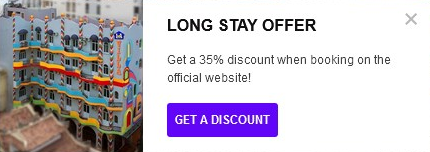
Manage widgets in your account
Open the "Widgets" section in the "Booking engine" menu:

What you can do here:
Create
Edit
Publish
Disable
Delete
If you do not see the "Widgets" section, please contact your manager to enable it.
Add website language versions
If your website has several language versions, provide links to booking engines in every language:
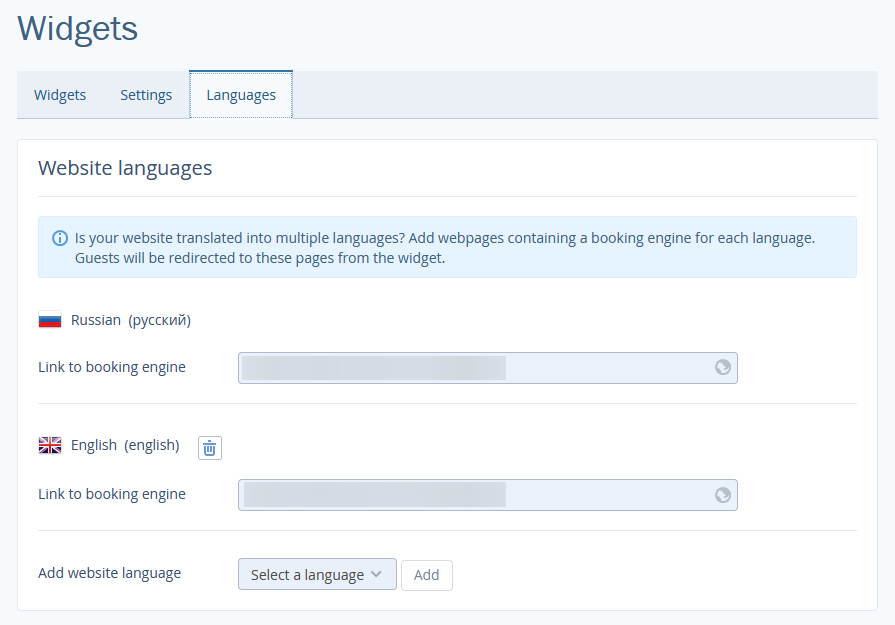
This should be filled in, if language versions are on different domains. By clicking on the widgets, clients will be redirected to the links you indicate.
Use the templates
We have analyzed the most effective ways to draw guests' attention and created some widget templates:
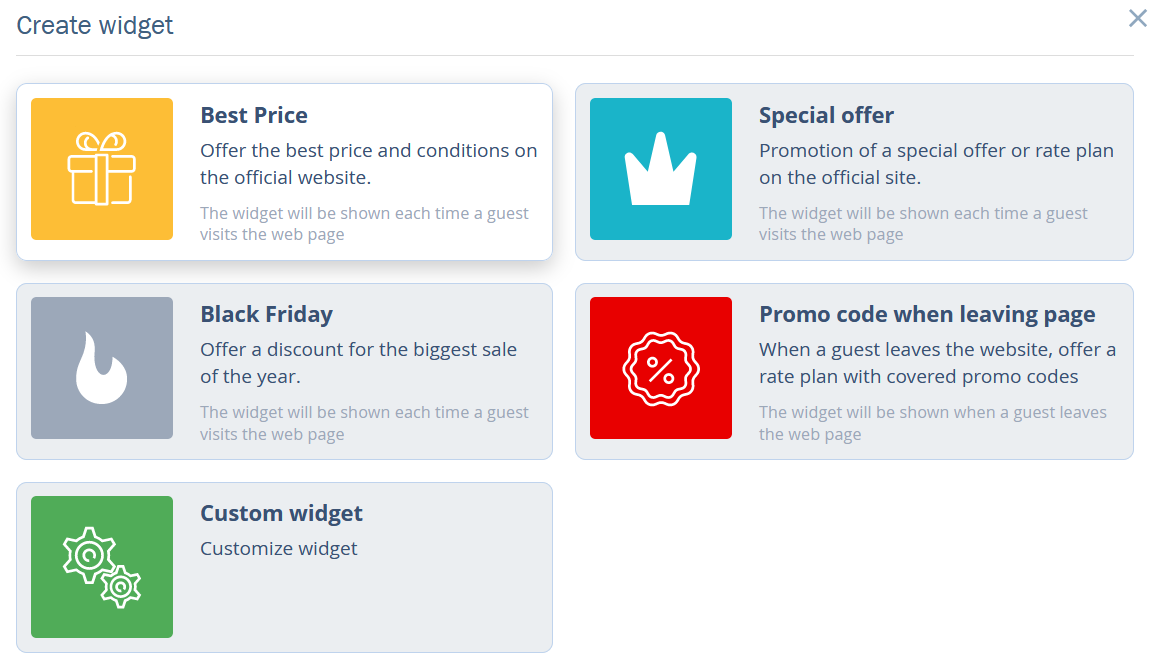
Best price — offer lower prices than they do on OTAs.
Special offer — create a rate on specific conditions, e.g., offer a discount when booking 30 days in advance.
Black Friday — create discounts for seasonal sales.
Promo code when leaving website page — offer a guest the discount promo code when he leaves without booking.
Custom widget — create a unique-styled widget.
How to create a widget using a template
Click on "Create a widget" and choose a template.
1. Set a script
If you have several hotels, choose which one will be linked to the widget. Choose what should be opened when clicking on the widget — booking engine or particular rates.
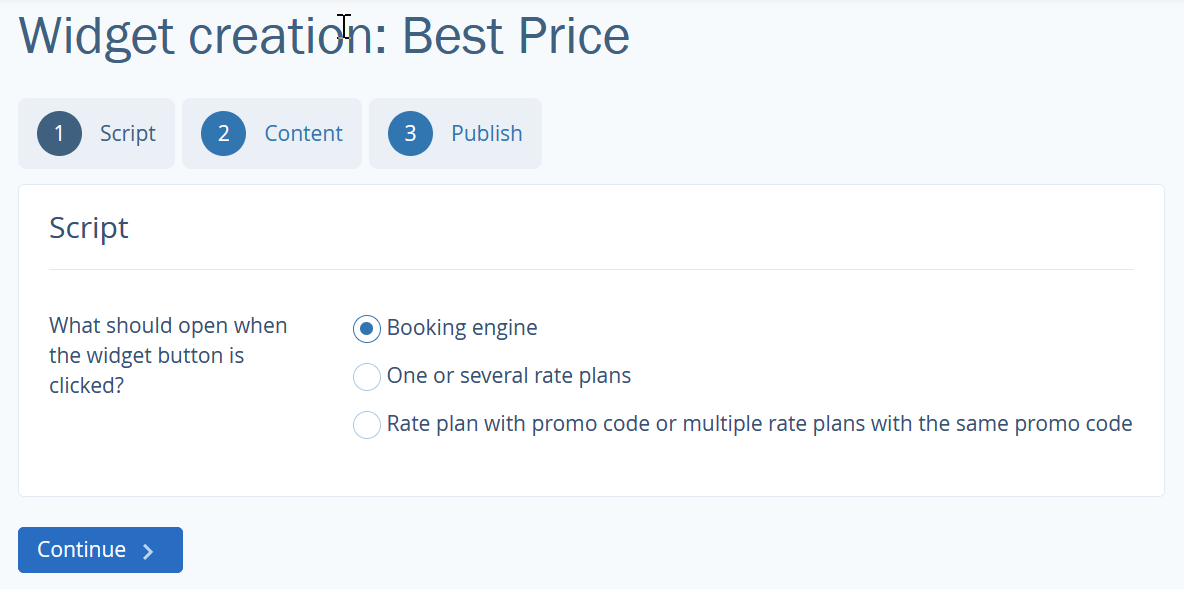
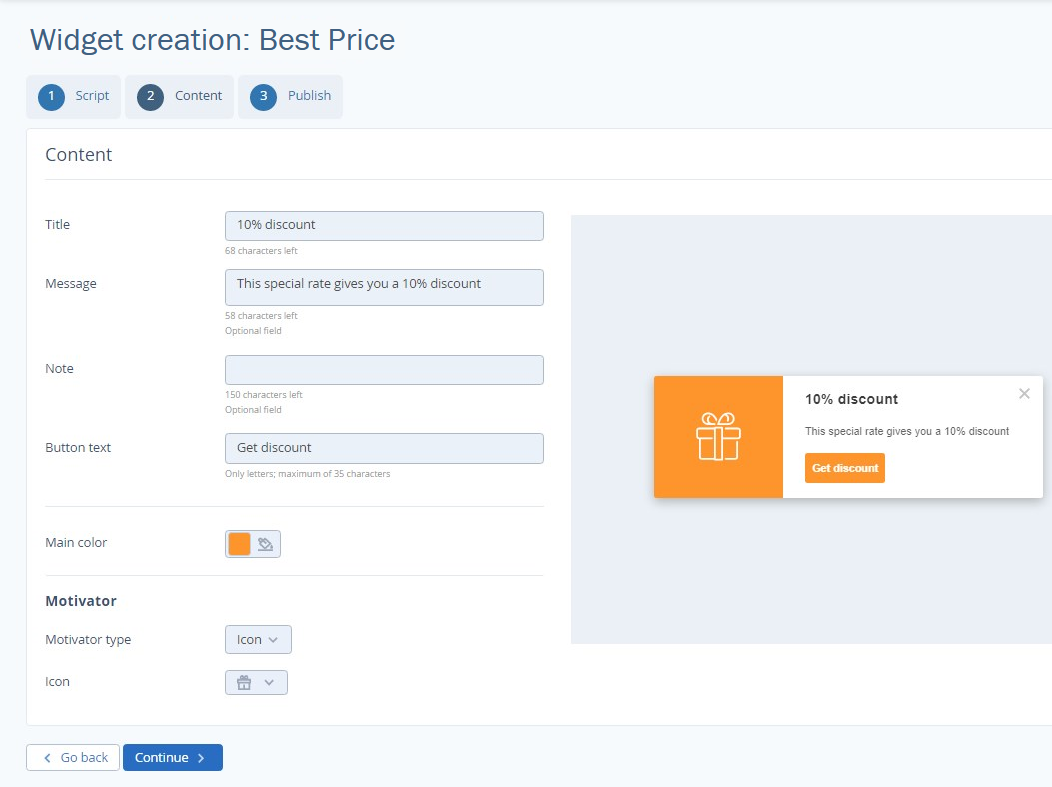
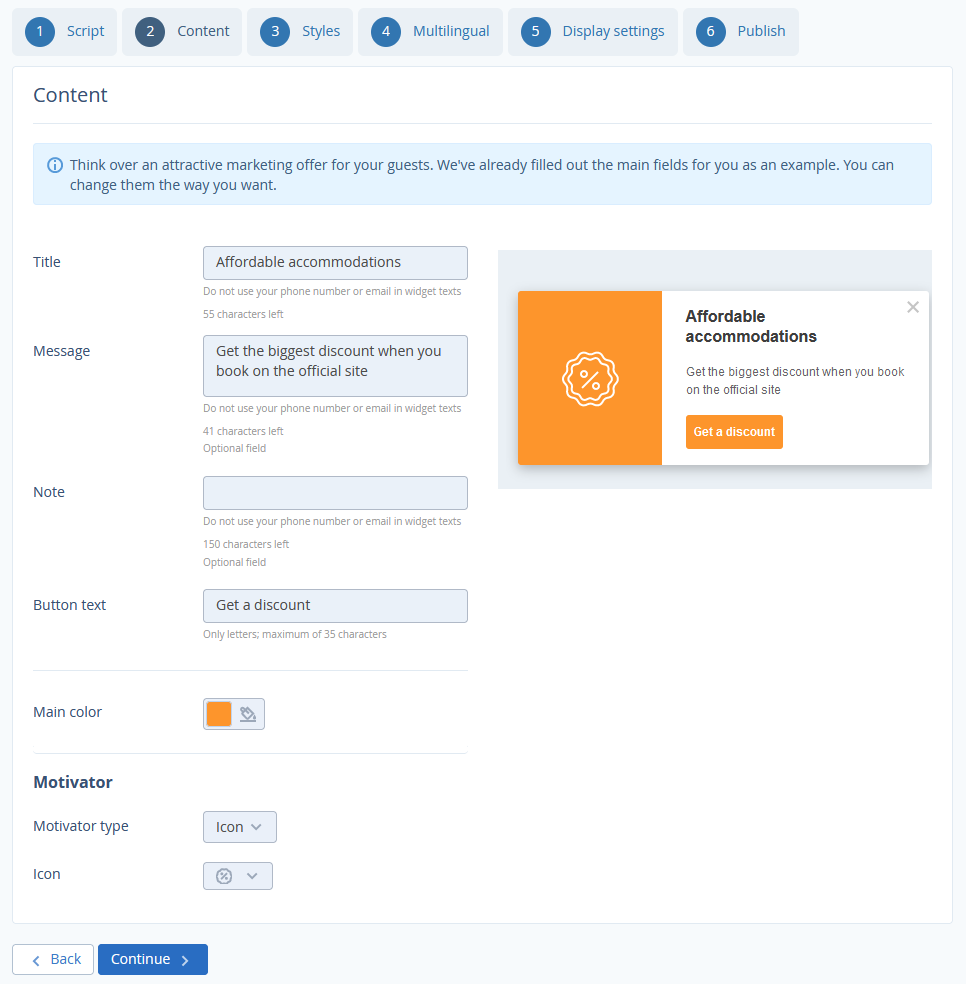
2. Add content
Edit widget texts and look at its preview on the right side:
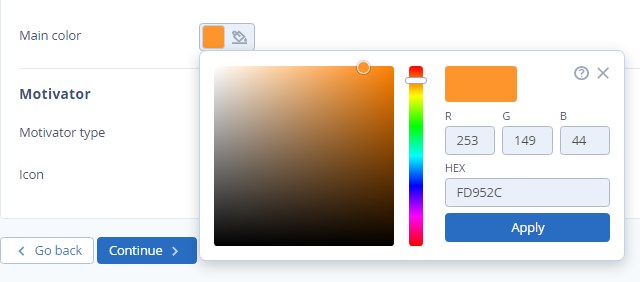
Choose the color using the color palette:
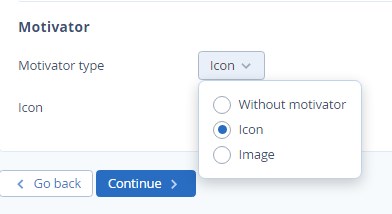
Choose the motivator type:
3. Publish the widget
Click on "Preview" button to look at the widget before publishing it. If the result works for you, tick on "Publish" box and click on "Done" button.
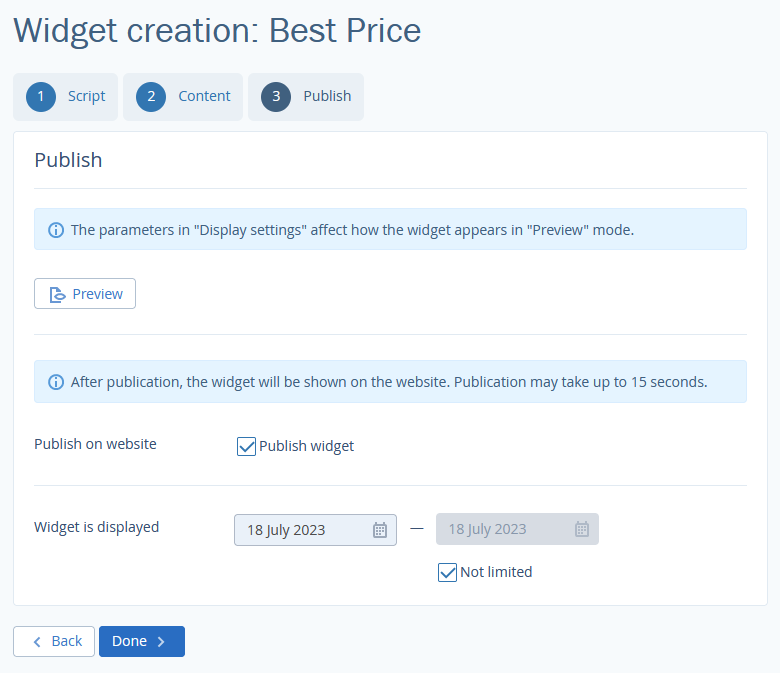
For a template-created widget, the custom widget settings are available.
How to create a custom widget
If our templates do not match your idea, create your own:
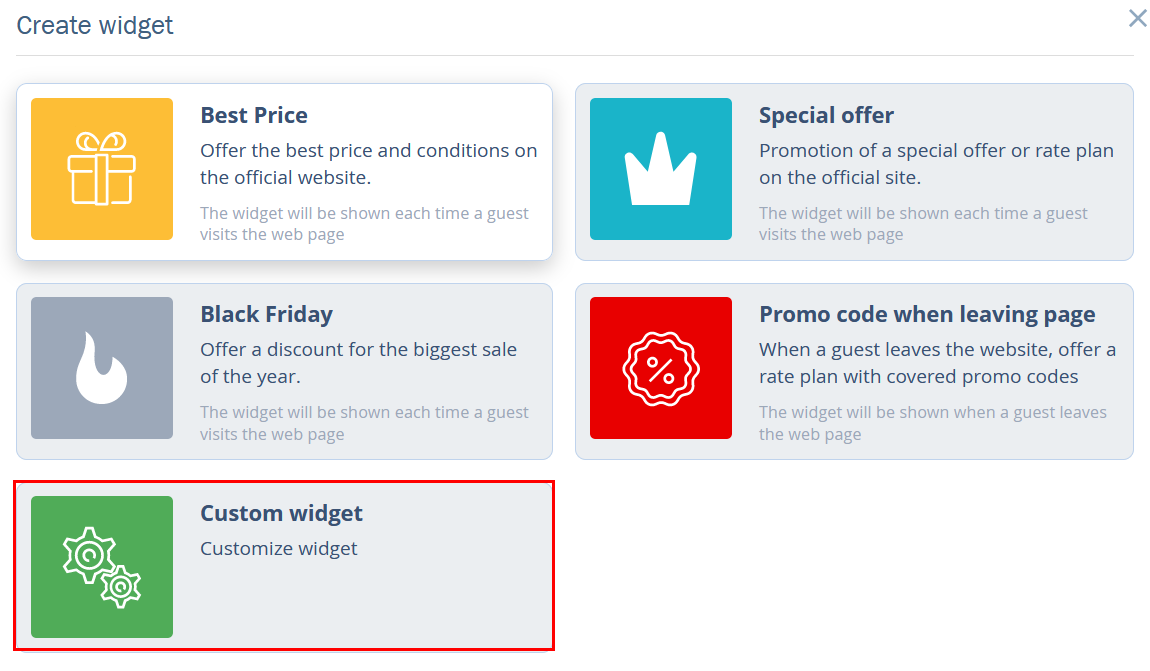
The Widget Creation Wizard contains more settings than the template one. Let's take a closer look at additional settings.
1. Set a script
Choose when visitors will see the widget once they open the page or when they are about to leave it.
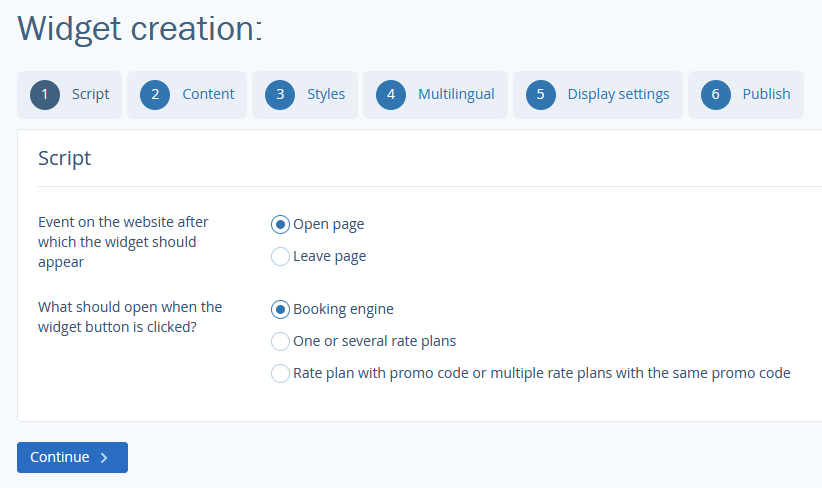
2. Set the content
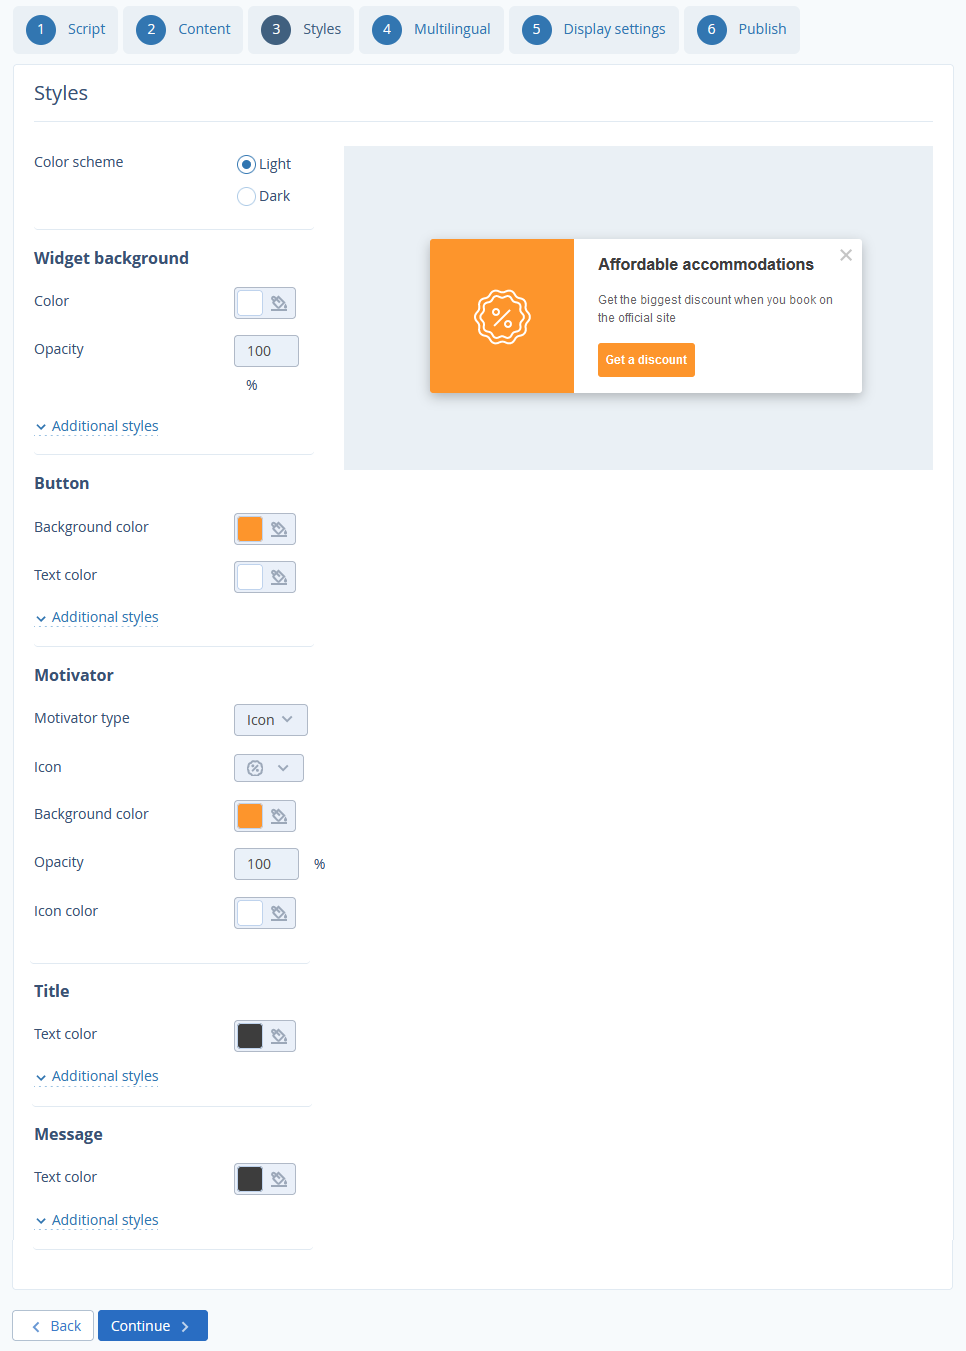
3. Set its style
Style settings will make your widget look unique. Style settings will make your widget look unique. Choose:
color palette
colors and opacity levels
button, heading and message text fonts
angles and shadows of the button.
4. Add translations
If you have any website language versions, translate the widget message:
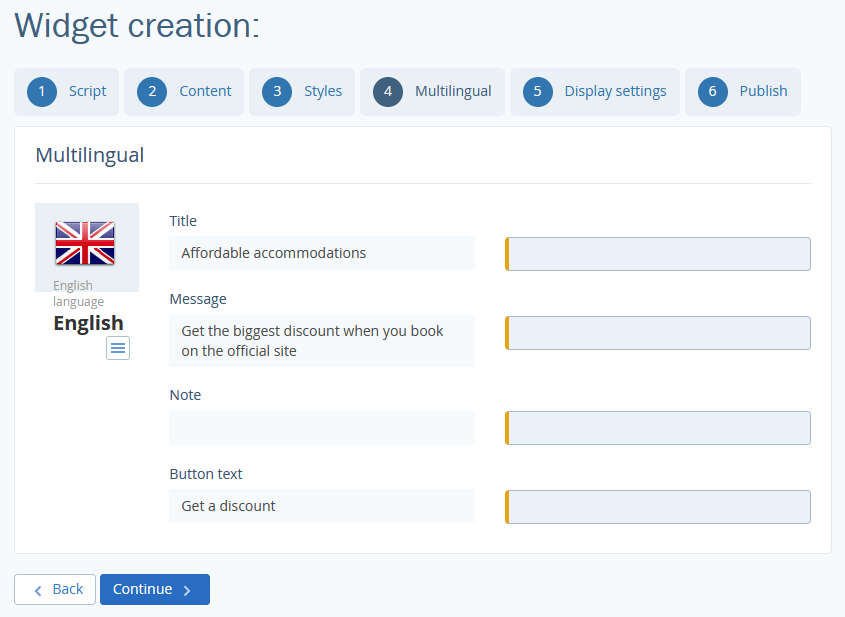
The "Multilingual" tab appears, if there are other language versions.
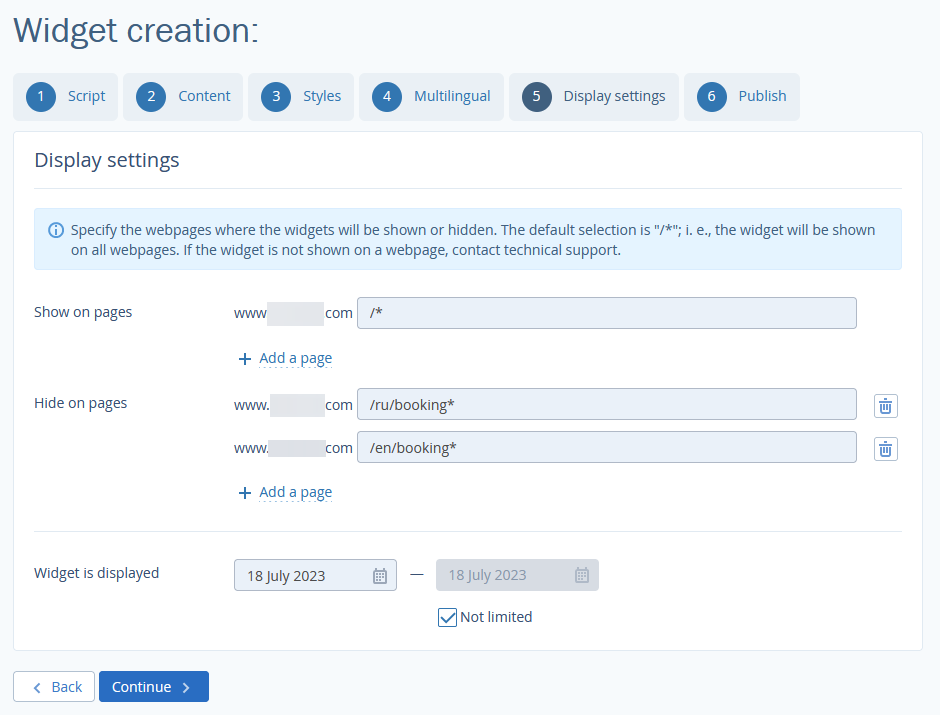
5. Set widget display on the website
Provide links to pages where you want the widget to be displayed and hidden.
Choose the dates when the widget should be displayed.
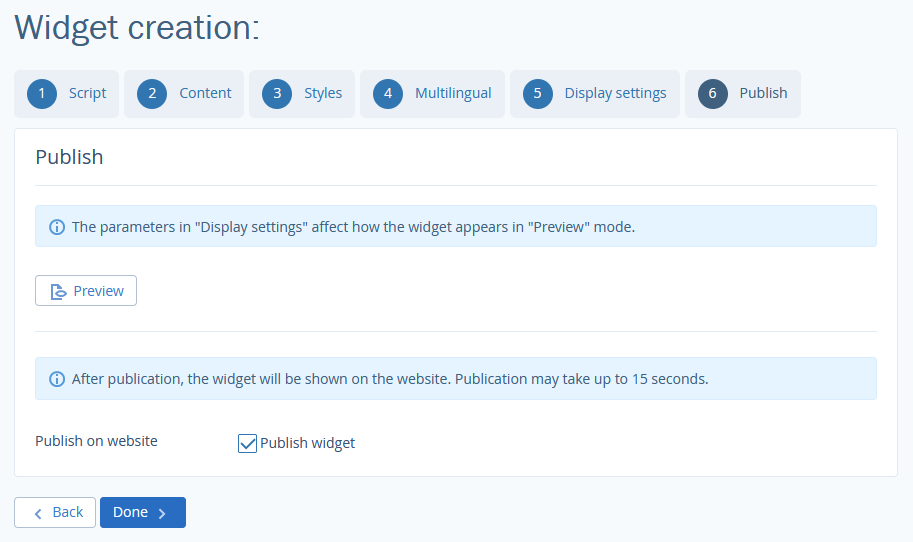
6. Publish the widget
Set widgets display
Go to "Booking engine" > "Widgets" > "Settings" tab and select the widget type - "Go to page" or "Leave page" widget. There, you can:
Choose the widgets layout and the time gap between the page opening and the widget popping up.
Mark whether widgets reappear and set in how much time you want this to happen.
Set mobile-friendly widgets
Guests will see special offers you create on their smartphones and tablets. When you create a widget, it is already mobile-friendly. The updated widgets have some additional settings.
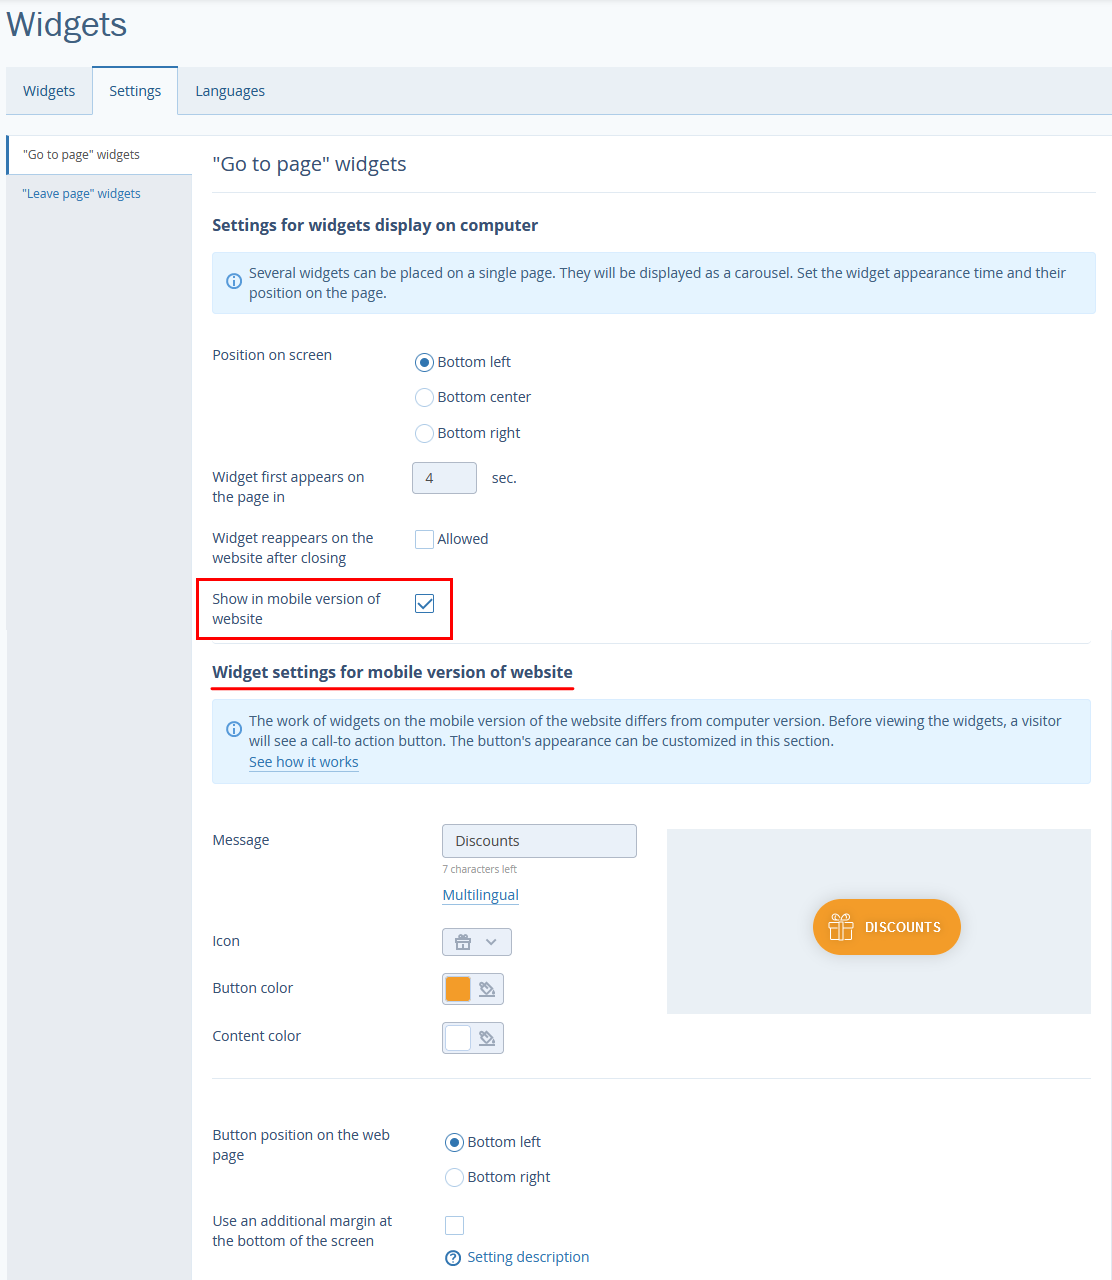
1. The “Show in mobile website mode” box is ticked by default, if you already created widgets for desktops. Clear a tick box, if you do not want them to be displayed on mobile devices.
2. Write in the “Message” and click “Multilingual” to add the translations to other languages.
3. Choose an icon and colors.
4. Set the widget’s layout.
This is what clients see on their mobile device:
